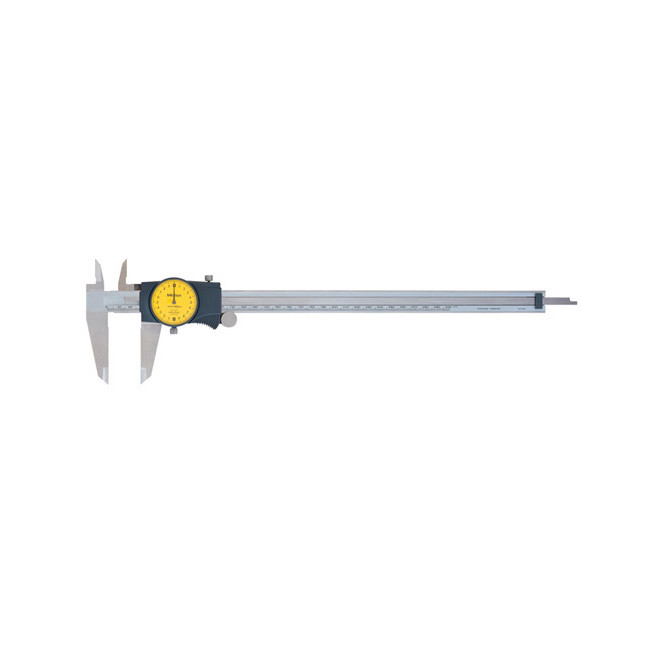
The dial caliper has a fixed (main) scale and a movable dial, unlike the vernier caliper which has a second, movable vernier scale. The dial is circular and has a pointer; it is mounted on a toothed gear track which drives the pointer. As the dial moves over the main scale rule, the pointer rotates once to give the additional fractional reading. The second measurement is added to the main scale reading to obtain a final result accurate to the smallest graduation marked on the dial. The main scale and dial are marked in millimeters. The dial can be rotated beneath the pointer to measure size differential between two objects. The dial caliper is easier to read than the vernier caliper, thus safeguarding against user reading errors. Its standard of precise measurement complements the use of the vernier caliper; the dial provides an ease in reading and interpolating measurements which most vernier calipers, due to their need for direct observation of both scales, may not provide.
The dial uses a rack-and-pinion mechanism and is mounted on a gear track where each tooth equals one quarter of the dial revolution, and four teeth equal 2mm. The smooth-moving dial is graduated to 0.02mm and offers gear train shock protection. A thumbwheel permits fast operation with one hand. A clamping screw controls scale movement and a dial calibration lock holds the sliding jaw’s position. The caliper is made of hardened stainless steel construction with titanium nitride (TiN) coating on the beam wear surface helps extend caliper life. Two sets of jaws provide four-way measurement capability: outside dimension (OD), inside dimension (ID), depth, and step, where the butt end of the fixed jaw measures one end of a work piece before its upper/lower or inner/outer steps are measured.
Calipers measure the distance between two opposing sides of an object. They make inside, outside, depth, or step measurements, according to their type. Calipers are commonly used in architecture, metalworking, mechanical engineering, and machining. The simplest calipers have two legs to mark the two points and require a ruler to take the measurement. More complex calipers use two sets of jaws instead of legs and have up to two graduated scales. Vernier, dial, and digital calipers give direct and accurate readings and are functionally identical, having a calibrated scale with a fixed jaw, and another jaw with a movable pointer that slides along the scale. The vernier caliper has a scale sliding parallel to the main scale for an additional, fractional reading to improve measurement precision. The dial caliper has a circular dial with a pointer on a toothed gear rack replacing the second vernier scale. As with the vernier, this second measurement is added to the reading from the main scale to obtain the result. The digital caliper takes a differential by zeroing the display at any point along the slide, with an LCD that displays a single value in English and/or metric units.
- Dial for measuring vernier scale, for ease of reading
- Hardened stainless steel construction, for protection of caliper components
- Four-way measurement capability, for outside dimension (OD), inside dimension (ID), depth, and step measurements
- Titanium nitride (TiN) coating on beam surfaces, for resistance to wear
- Metric system of measurement, for high-precision readings
