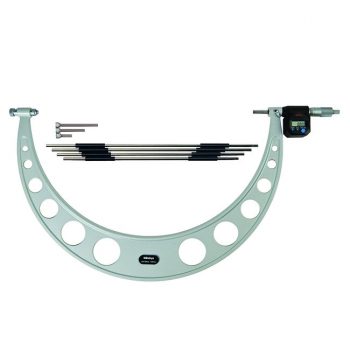
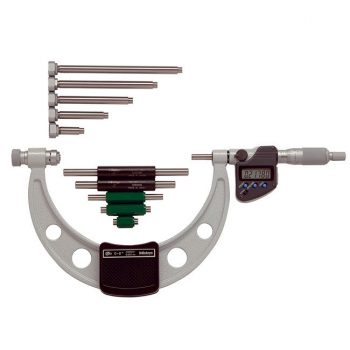
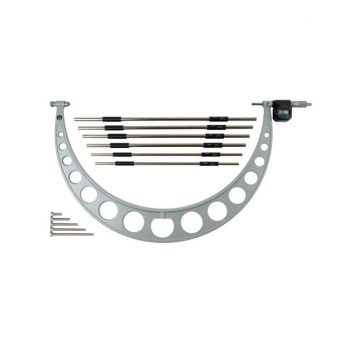
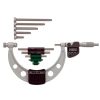
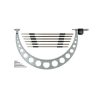
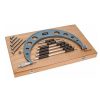
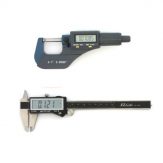
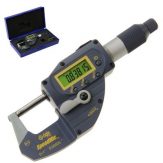
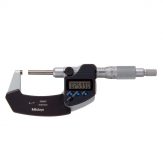
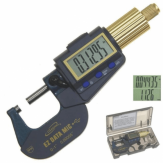
The Mitutoyo 340 series LCD outside micrometer has a bow-type frame and includes as set of six interchangeable anvils for a diversified range of measurement of large outside dimensions. It also has a ratchet-stop mechanism, an LCD digital readout that converts between inches and metric with resolution to 0.00005” (0.001mm) for outside diameter (OD) measurement, and Statistical Process Control (SPC) data output to transmit results to a computer or external device. The output jack transmits SPC results to a computer through an interface cable (sold separately).
Features:
- IP65 water/dust protection 340 series models with a range up to 12”/300mm.
- Wide measuring range with interchangeable anvils.
- With a Ratchet Stop for constant force.
- Supplied with zero-setting standards bar for each range.
- With SPC output (Series 340).
- Supplied in fitted wooden case.
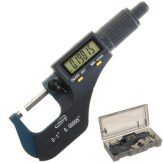
The micrometer’s electronic microprocessor can hold measurements at any position, convert to absolute value, set a temporary zero position, and return to a true zero reading. The micrometer has an Ingress Protection 65 (IP65) rating, which means that components are resistant to penetration by dust and debris, and resistant to penetration by liquids and coolant up to the force of a low-pressure (to 30 kilonewtons/meter-squared) water jet. The frame has a baked enamel finish for protection and durability. A spindle lock helps provide secure locking of the measurement position. The unit comes with an SR44 battery, standards for zero-setting, and a fitted plastic case.
Micrometers are precision measuring instruments that use a calibrated screw to measure small distances. These measurements are translated into large rotations of the screw that are then able to be read from a scale or a dial. Micrometers are typically used in manufacturing, machining, and mechanical engineering. There are three types of micrometer: outside, inside, and depth. Outside micrometers may also be called micrometer calipers, and are used to measure the length, width, or outside diameter of an object. Inside micrometers are typically used to measure interior diameter, as in a hole. Depth micrometers measure the height, or depth, of any shape that has a step, groove, or slot.
- Bow-type micrometer for measurement of large outside dimensions
- Includes interchangeable anvils for a diversified range of measurement
- Digital, single-value readout LCD displays in inch and metric units for readability
- Ratchet-stop mechanism helps provide uniform pressure for precise, repeatable measurements
- Statistical Process Control (SPC) output transmits results to a computer or external device through an interface cable (sold separately)
- Zero-setting, Data hold, Preset, Data output, inch/mm
- conversion (inch/mm models)
- Alarm: Low voltage, Counting value composition error
| Model | 340-351-10 | 340-352-10 | 340-720 | 340-721 | 340-722 | 340-723 | ||||||
| Maximum measurement | 0-6″/0-152.4mm | 6-12″/152.4-304.8mm | 12-18″ / 304.8 – 457.2mm | 18-24″ / 457.2 – 609.6mm | 24-30″ / 609.6 – 762.0mm | 30-36″ / 762.0 – 914.4mm | ||||||
| Measurement Accuracy | +/-0.0002″ | +/-0.0003″ | ±[.00016″ +.00004 (L/3)”] L = Max Range (Inch) | |||||||||
| Resolution | .00005”/0.001mm | .0001” / 0.001mm | ||||||||||
| Measurement System | Inch and Metric | |||||||||||
| Output Type | Yes, use SPC cable with data switch or SPC Cable. | |||||||||||
| Display | LCD | |||||||||||
| Flatness | 0.6µm/.000024” | .00004” | ||||||||||
| Measuring Faces | Carbide tipped | |||||||||||
| Parallelism | 3µm | +/-[0.00008″ + 0.00004 (L/4)”] L = Max range (inch) | ||||||||||
| Battery | SR44, battery life approximately 1 year under normal use. | |||||||||||
| Functions | Zero / ABS, data hold, preset, Data output, inch/mm conversion
Alarm: Low voltage, Counting value composition error Function Lock*** , 2 Presets*** |
|||||||||||
| Item weight | 2.11 pounds | 8.81 pounds | 11.023 pounds | 11.023 pounds | 11.023
pounds |
11.023
pounds |
||||||
| Color | Silver | |||||||||||
| Case | includes fitted plastic case. | |||||||||||
Dimensions:


